

As we all know Google has announced that it will be counting HTTPS as a ranking factor now. That means if you use HTTPS it will increase the chances of Google ranking you higher in it’s search results.
Previously switching to HTTPS was expensive and technical having to buy SSL certificates and install them yourself. Thankfully Cloudflare have released a free version that does exactly the same job and is easier to set up.
Free Cloudflare SSL on WordPress. There are different types of SSL certificates. They also come at a different cost and some of them are free. To the untrained eye, they all do the same thing, which is, of course, not true. A free SSL certificate is usually a self-signed certificate and regardless of being there, the browsers will prompt visitors with a security warning (which in turn can actually be worse than not having an SSL certificate at all).
So how about getting an SSL certificate that’s both free and does the job? Totally possible! Provided that you understand and accept the following disclaimers:
- The flexible Cloudflare SSL only encrypts the exchange between the visitor and the site (not between your hosting server and Cloudflare)
- Your visitors will see that the site is marked as ‘Secure’ and resolving under the HTTPS protocol, but it will not protect forms that ask for sensitive information (like credit card credentials)
- If you are running a blog or a showcase site this is a great solution. Otherwise, it is highly advised to get a full SSL certificate issued by a certified authority
How to add Cloudflare SSL to WordPress?
Here’s the list of 5 things you need to do to setup Cloudflare free SSL on your site:
- Request and set up the free Flexible SSL on Cloudflare
- Install required plugins on your WordPress site
- Change the WordPress Site URL
- Enforce HTTPS via Cloudflare
- Resolve mixed-content issues
1. Requesting and setting up the free Flexible SSL on Cloudflare
Sign up for Cloudflare

Visit the Cloudflare sign up page. Enter your credentials and verify your email address.
Add your site

All you need to do in this step is enter the domain name of your site.
Select the free plan

Choose the free plan which should be all the way to the left.
Change your name servers

IMPORTANT***: In order for the whole thing to work, you will have to point your nameservers to Cloudflare. You will need to configure this at your domain name registrar, which might be different from your hosting provider. After you have copied over the nameservers to your domain name registrar, click ‘Continue’ and you will be redirected to the settings for this domain.
Request the Flexible SSL Certificate

In case you are not seeing a page that looks like the one above, click on ‘Home’ and then click on the domain name that you added.
You will see a row of icons. Click on ‘Crypto’ and choose Flexible from the drop-down menu under SSL settings (it should be the second item in the drop-down list).
If you have pointed your nameservers to Cloudflare, as instructed in the previous step, the SSL should be active in 15 minutes approximately. This can vary depending on several factors like propagation time on your DNS, Cloudflare, etc.
If you have something else to do, check back later to see if the SSL is active and proceed.
Preparing WordPress for Cloudflare’s Flexible SSL
IMPORTANT – In your WordPress backend leave your WordPress Address (URL) and Site Address (URL) as HTTP.
Next, you will have to install both of these two plugins below.
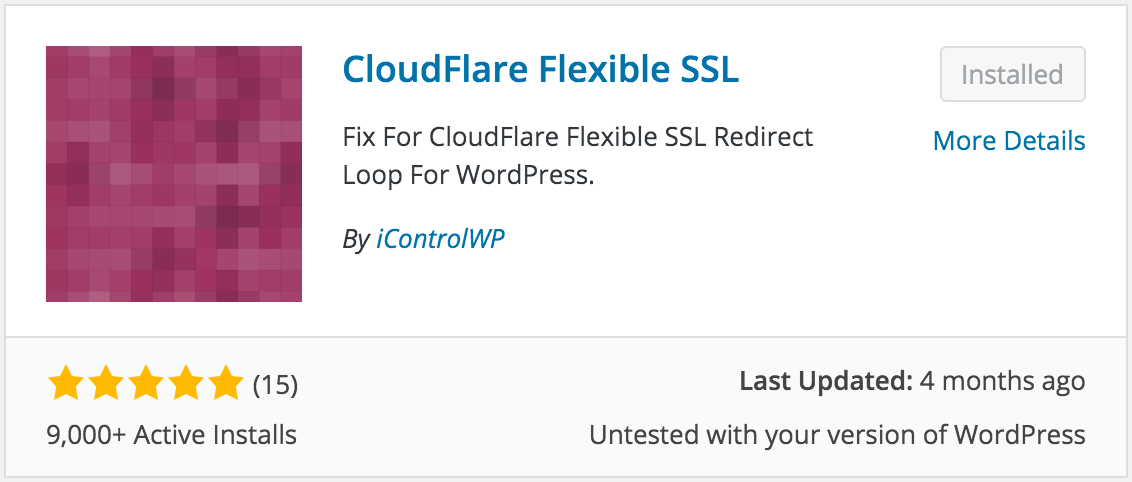
CloudFlare Flexible SSL Plugin
This plugin is essential for enabling Flexible SSL on WordPress and will prevent infinite redirect loops when loading WordPress sites under CloudFlare’s Flexible SSL system.
CloudFlare Flexible SSL Plugin
WordPress HTTPS Plugin
This plugin isn’t essential if all of your plugins and links on your website are already HTTPS. Most people’s links aren’t so this plugin changes them all to https.
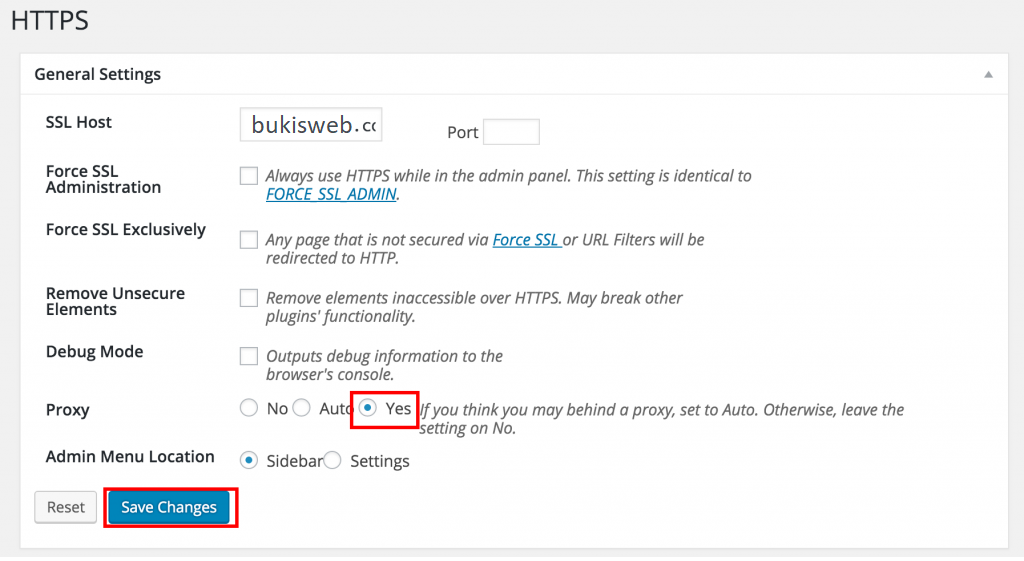
Configure WordPress HTTPS Plugin’s Settings
- Go into the plugin’s settings
- Select yes for the proxy setting
- Save
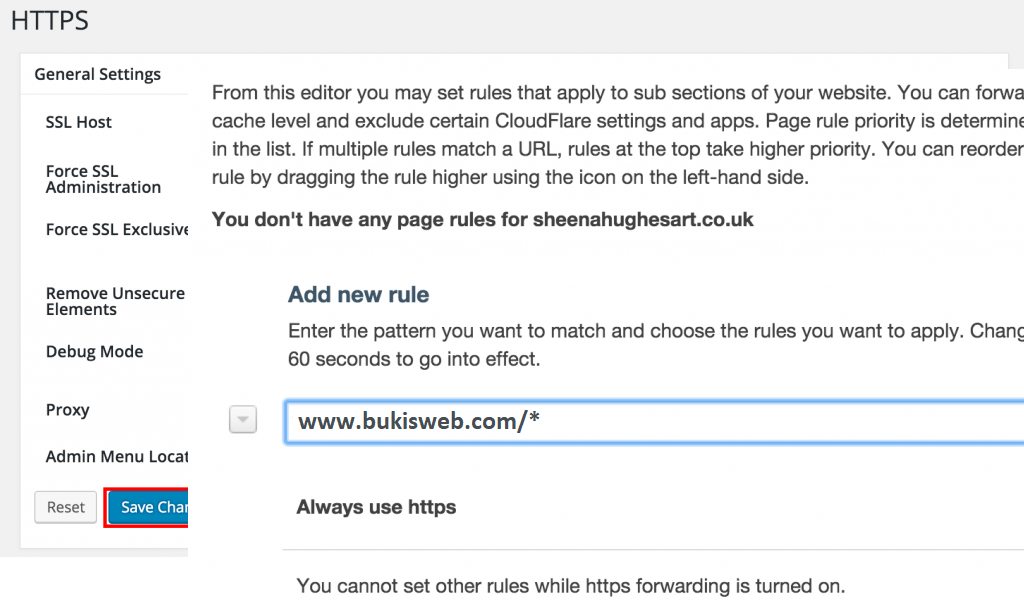
 Instruct CloudFlare to deliver our content via HTTPS
- Go back to Cloudflare
- Select your domain
- In the row of icons at the top select page rules
- Turn “always use HTTPs” on
- Add your domain name as the page rule in between two asterisks
- Click add rule
 Change your WordPress Site Address (URL)
Finally change your Site Address (URL) to “https://”, but make sure you leave the WordPress Address (URL) as “http://”.
**IMPORTANT** If you change your WordPress Address (URL) to “https://” it will break your site. If you change your Site Address (URL) to “https://”, without the Cloudflare Flexible plugin running it will also break.

Check your Cloudflare Flexible SSL is working
That should be you setup with your new free Cloudflare Flexible SSL Certificate. Just visit your website in a browser and check to see if the green lock is showing on the top left of your address bar.


